Ultra Engine Documentation
Welcome to the Ultra Engine documentation. Here you will learn how to use the software to build high-performance games and applications with the world's fastest game engine.
Ultra Engine is currently available in early access mode, with support for the C++ and Lua programming languages.
System Requirements
- Nvidia GEForce 420 or AMD Radeon RX 5300M (Integrated graphics are not supported yet. The expected minimum hardware supported for Intel is the HD Graphics 520 chip.)
- Windows 10 or 11
- Microsoft Visual C++ Redistributable
Additional Recommended Software
- Microsoft Visual Studio (used for C++ programming)
- Microsoft Visual Studio Code (used for Lua programming)
Installation
The following installation instructions only apply if you own a license for the standalone version of Ultra Engine. If you purchased Ultra Engine on Steam, the application will install as a regular Steam app and you can ignore the instructions below.
First, download and install the Ultra Engine Client. This application will allow you to install different versions of the game engine and receive updates. When you open the application you will be prompted to sign into your Ultra Engine account. If you do not have an account yet, you can create one here.

When you sign into your account in the application, it will look like this:
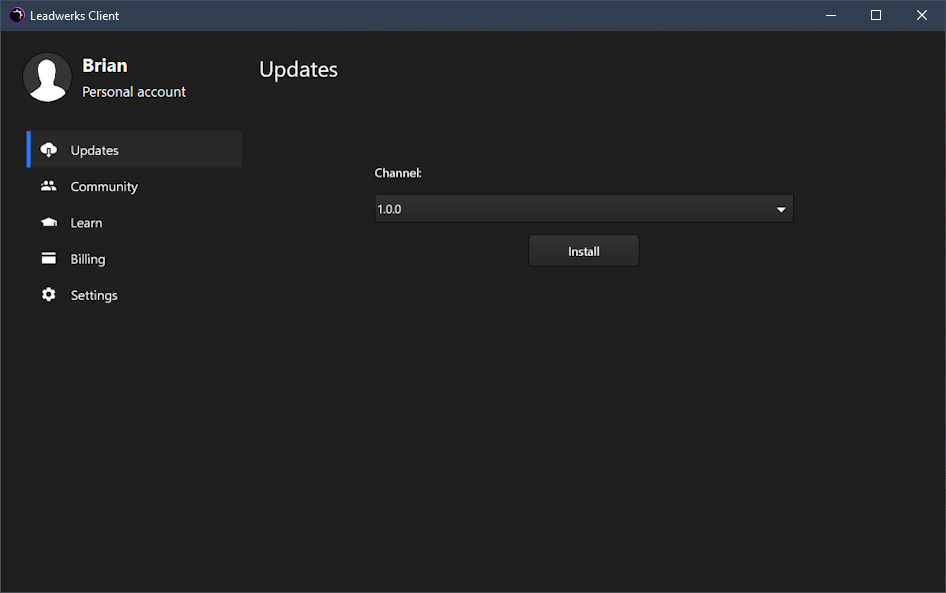
The Updates tab allows you to select and install a version of the engine.
The Community tab contains links to community features you can access on our site.
The Learn tab contains links to documentation.
The Billing tab contains information about your account and license.
The Settings tab contains various settings for the client application.
When your license is active, you can select a channel in the Updates panel and install the engine. If you do not have a license you can get one here.
The default channel will contain the current stable build, which does not change. You can select a newer version and receive more frequent updates, but the releases will not be as thoroughly tested. If you want to switch channels, uninstall the engine and select a new channel to install.
Once the game engine is installed you can press the launch button to run the editor and begin building games.
Distribution
Only the release build of your game should be distributed. The debug build of your game will end with the suffix "_d.exe" and should not be included.
You can pack all game data files (models, textures, etc.) into an encrypted Zip package to protect them. Just load the archive at the beginning of your program with this code:
auto pak = LoadPackage("gamedata.zip");// load the archive
pak->SetPassword("xxxxxxxxxxxxx");// set your own password here
If your code does not load any plugins you do not need to include the DLLs in the "Plugins" directory.
You should not distribute any files from the client application folder like the library, headers, template files, etc.
The only dependency your end users need to install is the Microsoft Visual Studio Redistributable. There's a good chance they already have it installed from another game or application, but you should package this in your installer or select it in the install settings for your game on Steam.